How To Model Characters In 3ds Max

How To Model Characters In 3ds Max
Introduction
Creating a 3D character is a challenging task that requires skill, dedication, and patience. Whether you are creating a character for a game, a movie, or a comic book, 3ds Max is a powerful tool to help you get the job done. This tutorial will walk you through the process of creating a character in 3ds Max, from concept to final render. We will cover the basics of character creation, including modeling, texturing, and rigging.
Character Modeling Basics
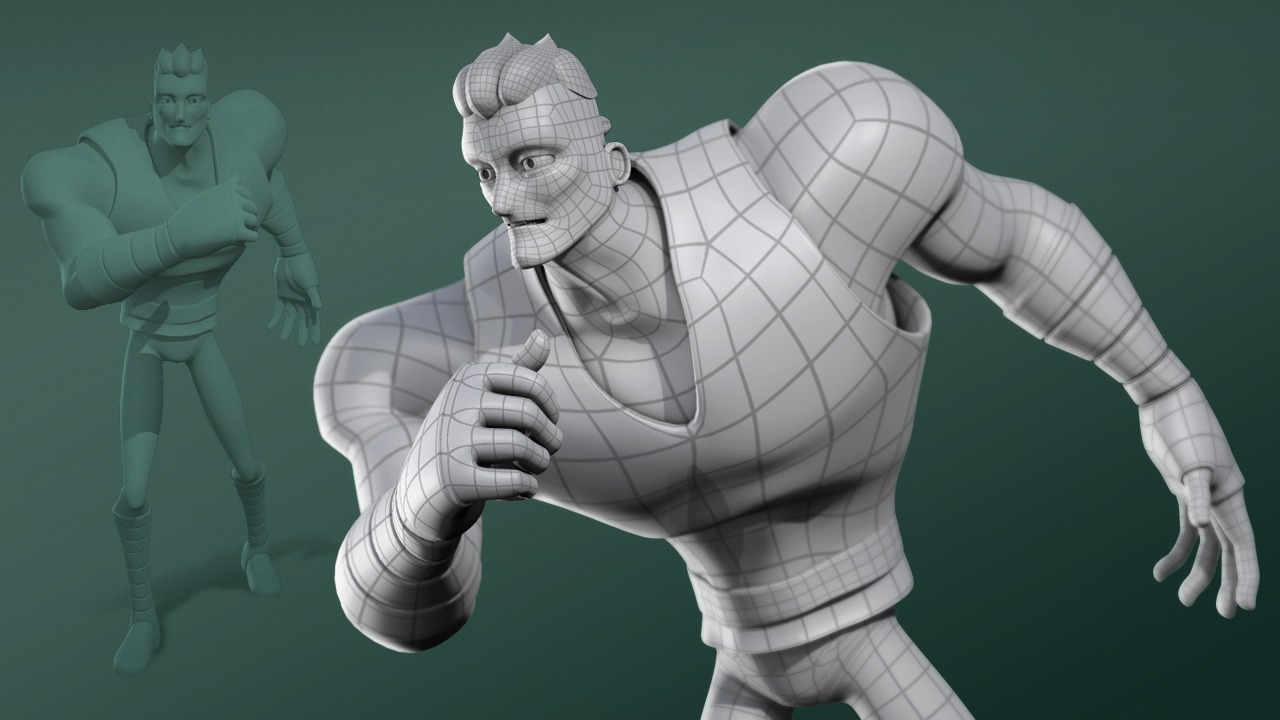
The first step in creating a 3D character is to create the model. This involves building a mesh that will serve as the foundation for the character. Depending on the complexity of the character, this can be a relatively simple or a very complex process. For this tutorial, we'll keep things simple and just create a basic humanoid character.
Before you begin, you'll need to decide on a design for your character. This will determine the shape and structure of the model. You can use reference images, sketches, or existing characters as a reference. Once you have an idea of what you want to create, you can start building the model.
The modeling process begins with creating a base mesh. This is a basic 3D shape, such as a cube or a sphere, that serves as the foundation for the model. You can then use 3ds Max's built-in tools to manipulate the mesh and refine it into the desired shape. Once you have the basic shape of the model, you can begin adding detail. This can be done by adding more polygons, sculpting, or using various other modeling techniques.
Texturing and Lighting
Once you have finished modeling the character, it's time to texture it. Texturing is the process of adding color and detail to the model. This can be done with images, such as photographs or hand-painted textures. In 3ds Max, you can use the UV mapping tools to wrap textures around the model.
In addition to texturing the model, you'll need to create a lighting setup for the scene. This can involve adding lights, such as spotlights or area lights, and adjusting the colors and intensity of the lights. This will allow you to create the desired look for the character.
Rigging and Animation
Once the model is finished and the lighting is in place, it's time to rig the character. This is the process of adding a skeleton and rigging it to the model. This allows the character to be animated and manipulated in 3ds Max. You can use the built-in rigging tools to create a basic rig, or you can use a third-party rigging system such as CAT (Character Animation Toolkit).
Once the rig is set up, you can begin animating the character. This can be done by creating keyframes or by using motion capture data. You can also use 3ds Max's built-in animation tools to create more sophisticated animations.
Rendering and Output
Once the character is animated, it's time to render the scene. This is the process of generating an image or sequence of images from the 3D scene. In 3ds Max, you can use the built-in render engine or a third-party renderer such as V-Ray or Mental Ray. You can also use the Rendering Output window to adjust various rendering settings, such as anti-aliasing, resolution, and output format.
Once the render is complete, you can output the image or sequence of images in various formats, such as JPEG, PNG, or TIFF. You can then use these images in your project, or you can export them to other software packages for further processing or editing.
Conclusion
Creating a 3D character in 3ds Max is a challenging yet rewarding process. With the right tools and techniques, you can create a character that is both visually appealing and accurate to your design. This tutorial has given you the basics of character creation, from modeling to rigging and animation. With practice and dedication, you can become a master of 3ds Max character creation.