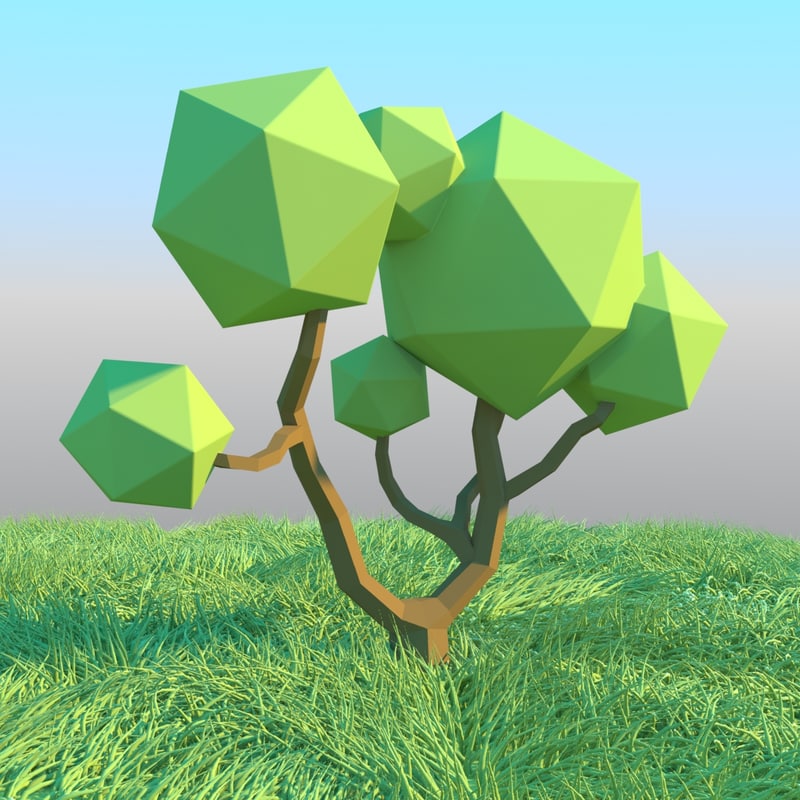
Low Poly Tree 3ds Max

How to Create a Low Poly Tree in 3ds Max
3ds Max is a powerful 3D modelling software and is used by 3D artists around the world to create amazing 3D art. One of the most popular projects that 3ds Max can be used for is creating low poly trees. Low poly trees are used in gaming and other 3D applications because of their minimalist, stylish look. In this tutorial, we will go through the steps of creating a low poly tree in 3ds Max.
Step 1: Setting Up Your Scene
The first step in creating your low poly tree is to set up your scene. Create a new 3ds Max document and set your background and lighting the way you want it. Next, create an HDRI map to use as your environment. This will give your tree a more realistic lighting and background. For this tutorial, we'll be using a grassy environment with a bright sky.
Step 2: Creating the Tree Trunk
Once your scene is set up, you can start creating the tree trunk. Begin by creating a cylinder primitive. Make sure to adjust the height, radius and segments of the cylinder to get the desired trunk shape. You can also use the Extrude tool to adjust the shape of the trunk further. Once you are happy with the shape, you can assign a material to the trunk.
Step 3: Creating the Branches
Next, you need to create the branches of your tree. Start by creating a new cylinder primitive and adjust the height, radius and segments to your desired branch shape. Once you are happy with the shape, use the Extrude tool to create the branch shape further. You can also use the Bend tool to give your branch some natural curves. When you are happy with the shape, assign a material to the branch.
Step 4: Creating the Leaves
The next step is to create the leaves of your tree. Begin by creating a plane primitive and adjust the width, height and segments to your desired leaf shape. Once you are happy with the shape, use the Extrude tool to give the leaf some depth. You can also use the Bend tool to give the leaf some natural curves. When you are happy with the shape, assign a material to the leaf.
Step 5: Putting it All Together
Once you have created the trunk, branches and leaves, it's time to put it all together. Begin by grouping all the parts of the tree together. Next, use the Align tool to position the branches and leaves on the tree. You can also use the Mirror tool to create symmetry in your tree. Lastly, use the Scale tool to adjust the size of the tree to your liking.
Step 6: Final Touches
Once you have the tree assembled, it's time to add some final touches. Start by adding a few small details such as leaves and twigs. You can also use the Tweak tool to adjust the shape of your tree. Lastly, use the Render tool to create a beautiful render of your low poly tree.
Conclusion
Creating a low poly tree in 3ds Max is a great way to practice your 3D modelling skills. With the right tools and techniques, you can create a stunning low poly tree that can be used for a variety of applications. Give it a try and see what you can create!