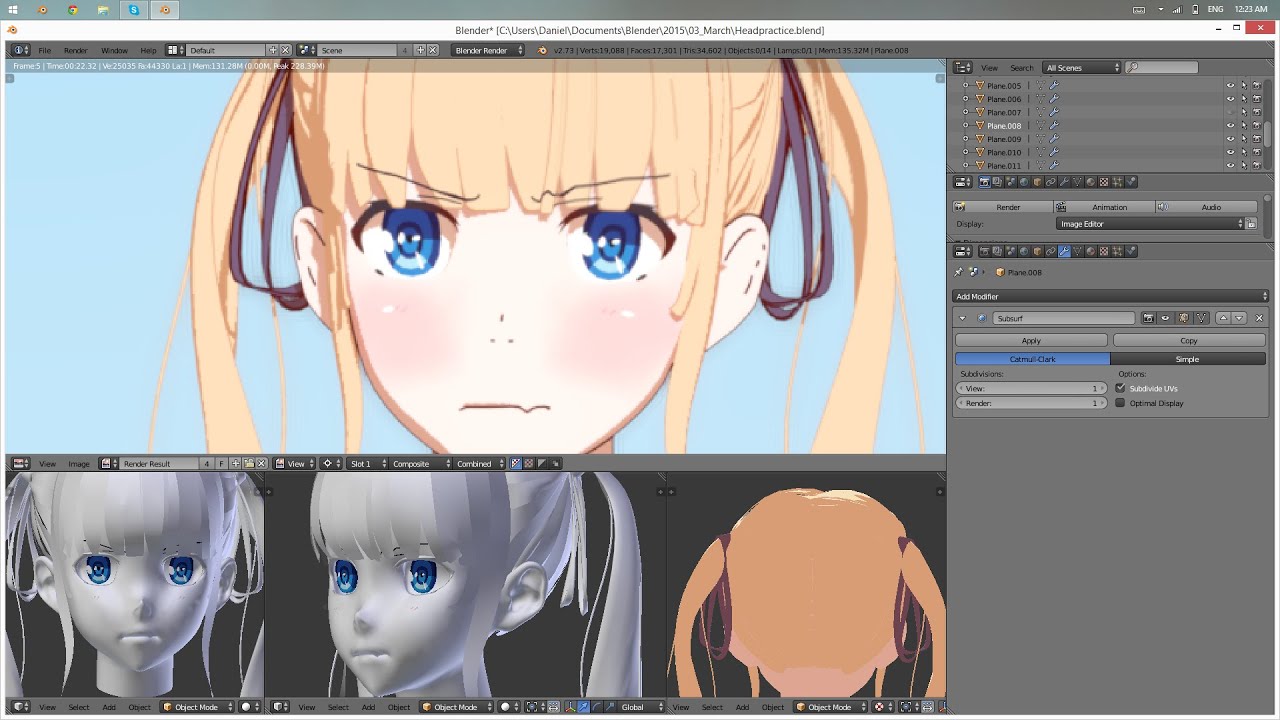
Blender How To Make An Anime Character

How To Make An Anime Character Using Blender
Are you looking for an easy way to create an anime character? Blender is an open-source 3D computer graphics software that can be used to create amazing 3D models, animations, and more. It’s free, and there are tons of tutorials and resources available to help you get started. In this tutorial, we’ll show you how to create an anime character in Blender.
Step 1: Finding a Reference Image
The first step in creating your anime character is to find a reference image. This can be anything from an image of a real person to an illustration of a character from an anime series. You can find reference images online, or you can draw your own. Just make sure that you have a clear image that you can use as a reference. This will help you make sure that the character you create in Blender looks as close to your reference image as possible.
Step 2: Setting Up the Scene
Once you have your reference image, you’ll need to set up the scene in Blender. To do this, you’ll need to import your reference image into Blender. You can do this by going to the “File” menu and selecting “Import”. From there, you can select the image file you want to import and it should appear in your scene. You can then scale and position the image to fit your needs.
Step 3: Modeling the Character
Now that you have your scene set up, it’s time to start modeling your character. Blender has a few different modeling tools that you can use to build your character. You can use the extrude tool to create basic shapes, the loop cut tool to add more detail, and the sculpting brush to refine the shapes. You can also use the texture painting tool to add texture to your character. As you’re modeling, you can use the reference image to help you ensure that your character looks the way you want it to.
Step 4: Rigging the Character
Once you’ve finished modeling your character, you’ll need to rig it. This is the process of adding a skeleton to your character so that it can be animated. Blender has a few different rigging tools that you can use to rig your character. You can use the armature tool to create the skeleton, the weight painting tool to assign weights to the joints, and the IK solver to create inverse kinematics. Once your character is rigged, you’re ready to animate it.
Step 5: Animating the Character
Now that your character is rigged, you can start animating it. Blender has a few different animation tools that you can use. You can use the keyframe animation tool to create basic animations, the motion tracking tool to track the motion of a real-life object, and the non-linear animation tool to create more complex animations. You can also use the particle system to add effects like smoke and fire to your scene.
Step 6: Rendering the Animation
Once you’ve finished animating your character, you’ll need to render it. Rendering is the process of turning the animation into a final video or image file. Blender has a few different rendering options that you can use. You can use the Blender Internal renderer to render the animation directly in Blender, or you can use the Cycles renderer to render the animation using the power of your computer’s GPU. Once you’ve rendered your animation, you can export it as a video or image file.
Conclusion
Creating an anime character in Blender is a fun and rewarding experience. With the right reference image and a bit of practice, you’ll be able to create amazing characters in no time. Just remember to take your time and experiment with different tools and techniques until you find the one that works best for you. Good luck and have fun!