Blender Character Rigging For Beginners Hd

Blender Character Rigging For Beginners HD
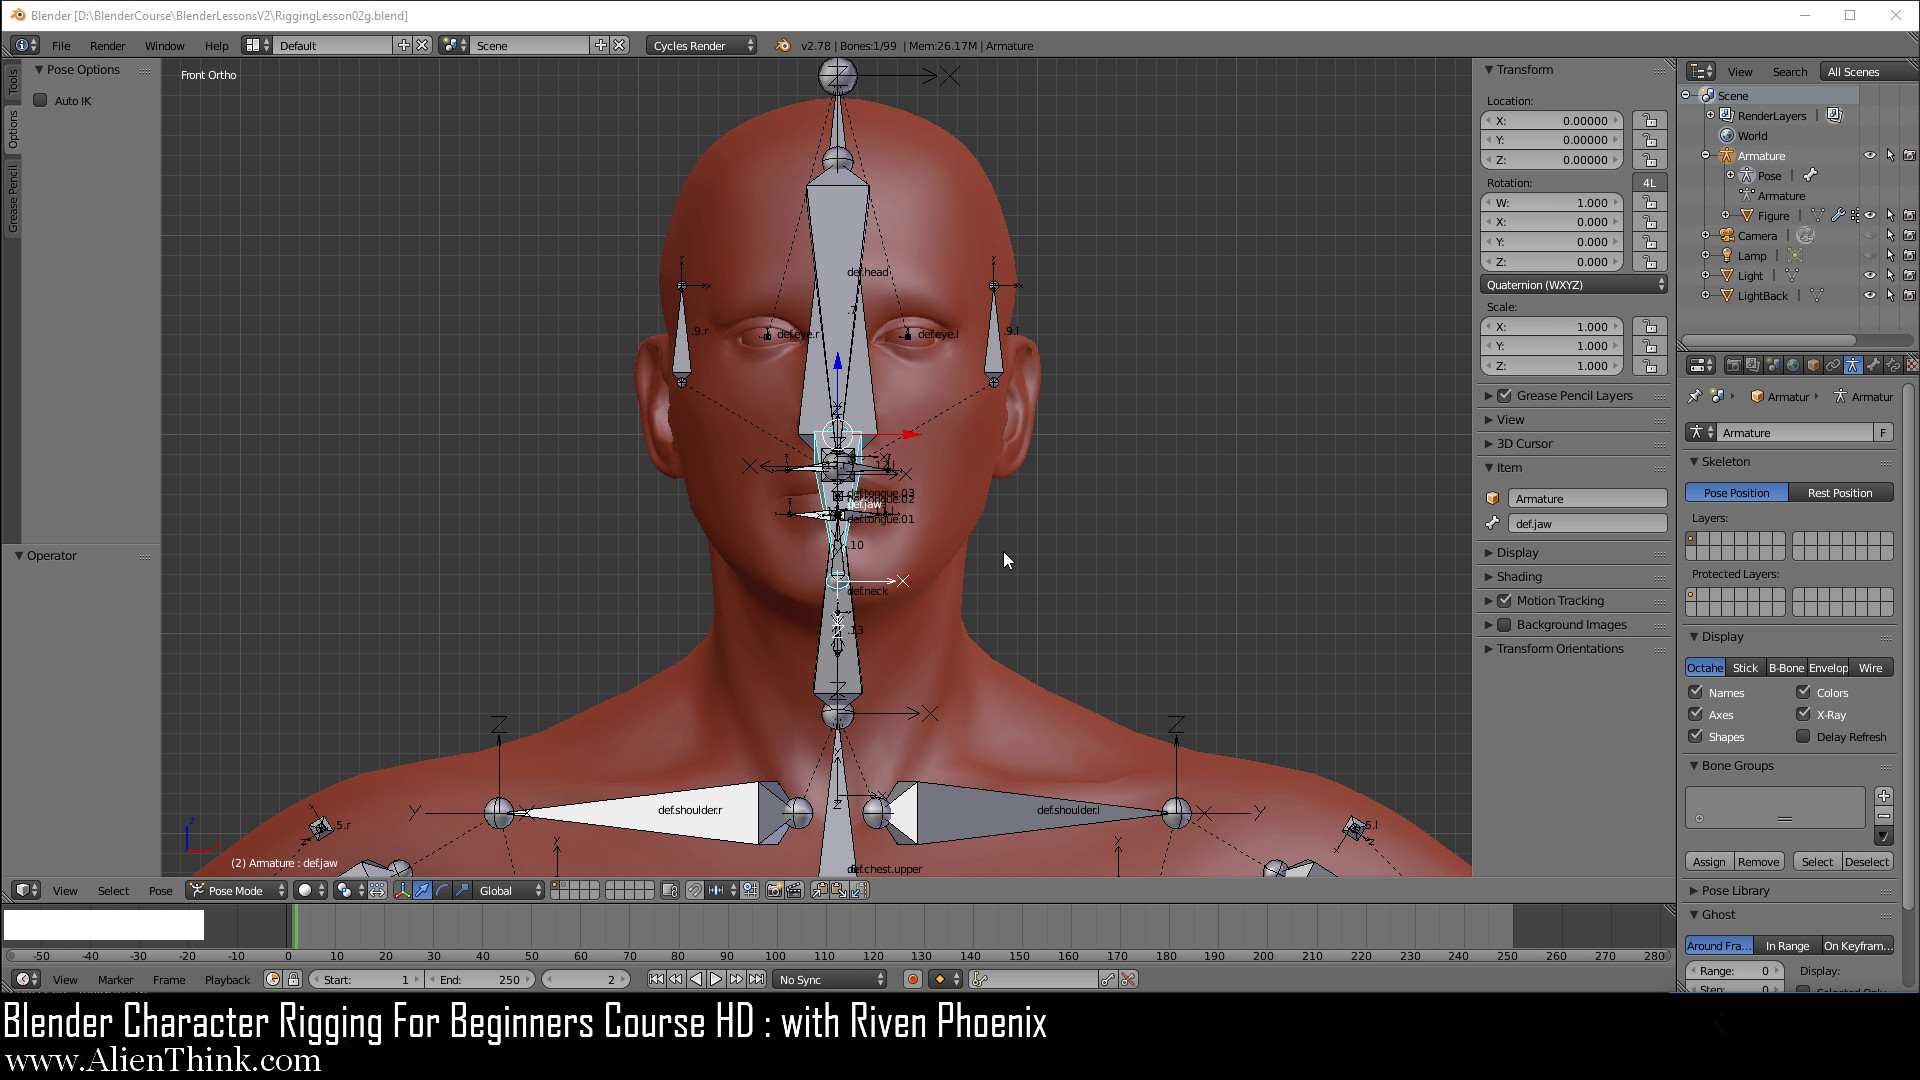
Character rigging is a process in 3D animation that ties a character’s skeleton to its surface. It’s a necessary step in creating a digital character that can be animated. Character rigging is a complex process that can take days or even weeks to complete, particularly if the character is very detailed. For those who are new to 3D animation and want to learn how to rig a character in Blender, this tutorial will walk you through the basics of character rigging.
Step 1: Modeling the Character
Before you can begin rigging the character, you need to create the 3D model. You can either model a character from scratch or use a pre-made model. If you are new to character modeling, it’s best to start with a pre-made model and learn the basics of 3D modeling as you go. Once you’ve created the model, you can move on to the next step.
Step 2: Setting Up the Armature
The armature is what gives the character its structure and allows the character to be animated. In Blender, the armature is created by adding a bone structure to the character. To create the bone structure, you need to select the “Add Armature” option from the Object menu. Then, you can use the “Add Bone” tool to create the bones. Once you’ve created the bones, you need to connect them to the character’s mesh. To do this, you need to select the “Parent” option from the Object menu. This will create a relationship between the bones and the character’s mesh.
Step 3: Weight Painting
Weight painting is the process of assigning weights to the bones of a character. This allows the character to deform in a realistic way when it is animated. In Blender, you can weight paint the character by selecting the “Weight Paint” option from the Object menu. Then, you can use the brush tool to paint the weights onto the character’s mesh. You need to be careful when weight painting as too much weight can cause the character to deform in an unrealistic way.
Step 4: Setting Up the Constraints
The constraints are what allow the character to move in a realistic way. In Blender, the constraints are created by selecting the “Add Constraint” option from the Object menu. Then, you can select the type of constraint you want to create (e.g. IK, Follow Path, etc.). Once you’ve created the constraint, you need to set the parameters (e.g. speed, direction, etc.) and then link it to the armature. This will allow the character to move in a realistic way.
Step 5: Setting Up the Control Rig
The control rig is what allows you to control the character’s movements. In Blender, the control rig is created by selecting the “Add Control Rig” option from the Object menu. Then, you need to link the control rig to the armature so that it can control the character’s movements. Once the control rig is set up, you can use it to animate the character in a realistic way.
Step 6: Testing the Rig
Once you’ve set up the character rig, you need to test it to make sure it works as expected. To do this, you need to select the “Test Rig” option from the Object menu. This will allow you to test the rig and make sure it works as expected. If you find any issues, you can go back and adjust the rig until it works as expected.
Conclusion
Character rigging is an essential part of 3D animation. It allows the character to be animated in a realistic way and can take days or even weeks to complete. This tutorial has walked you through the basics of character rigging in Blender. From modeling the character to setting up the control rig, you should now have a good understanding of how to rig a character in Blender. Now it’s time to practice and get your characters ready for animation!